Beautiful nails should feel easy. Jollè nails are designed to give you the glossy look of a gel manicure, without the appointment. With the right sizing, a little prep, and firm pressure, your manicure will look natural, feel comfortable, and last as long as possible.
What's in your kit

Everything you need is already inside the box. No extras required.
-
32 nails in 16 sizes — so you can find the perfect fit for every finger
-
Double-sided nail file — one coarser side, one softer
-
Cuticle pusher
-
Nail glue — for the longest-lasting hold
-
Adhesive jelly tabs — for shorter-term wear
About the nails: The tip of each nail is firm and strong. The sides are flexible and lightweight. When pressed down onto your nail plate, the sides gently mould to the shape of your nail — which is why they look so natural and feel so comfortable.
Step 1 — Size your nails first

This is the most important step. Getting the sizing right is what makes your manicure look seamless and last the longest.
The rule: The nail must sit fully on your nail plate and never touch your cuticles or skin.
Sizes run from 0 (the largest) to 14 (the smallest) — the number is printed on the inside top of each nail so you can easily identify and compare sizes as you match them up. We also include a size 15 — a special extra size designed for nail plates that are narrower but have a longer nail bed. If you find that a nail fits your width but looks too short for your nail bed, size 15 might be your perfect fit.
Lay all 32 nails out and match one to each finger — on both hands. Don't assume both hands are the same; your left and right thumbs can be different sizes. Hold the press-on up to your finger and press it down lightly — you'll notice the flexible sides gently mould to the shape of your nail. This gives you a much better sense of the true fit before you commit to gluing.
|
If the nail... |
Then... |
|---|---|
|
Touches your cuticles or skin |
Go one size smaller |
|
Sits cleanly with no overhang |
✅ Good fit |
|
Leaves a small gap at the sides |
✅ Still fine — go with it |
If you are between two sizes, choose the slightly smaller one. A tiny bit of natural nail showing at the side is better than choosing a nail that is too wide.
Because the sides are flexible and mould to your nail when pressed down, a nail that looks slightly narrow will fit much more snugly once applied with glue — so don't be put off by a small gap.

You can write your sizes down for next time, but keep in mind that your sizes may change slightly depending on the shape you choose. For example, you may wear one size in Oval and a slightly different size in Square or Comfort Fit.
Use the numbers as a guide, but always check the actual fit on your nail.
Step 2 — Prep your nails
Good prep helps your manicure last longer, so don’t skip this step.
1. Wash your hands well. No hand cream, oils, or old nail polish residue. Just clean, dry hands.
2. Gently push back your cuticles. Use the cuticle stick from your kit. Be gentle — you're not cutting anything, just pushing any skin off your nail plate. If your cuticles are dry or stubborn, soak your fingers in warm water for a minute first.
Don't cut your cuticles. It's not great for nail health and can cause infections. Pushing them back is all you need.

3. Buff your nail plate. Use the softer (blue) side of the nail file. Buff the surface of each nail until it looks matte, not shiny. You're just creating a little texture for the adhesive to grip — a light, even buff is enough. Don't go too hard, especially if your nails are thin or sensitive.

4. Trim your natural nails. If your natural nails are long. This helps the press-on sit cleanly on top and prevents debris from gathering underneath, which is more hygienic and gives a neater finish.
5. Wash your hands again. Rinse off all the filing dust. Dry your hands completely.
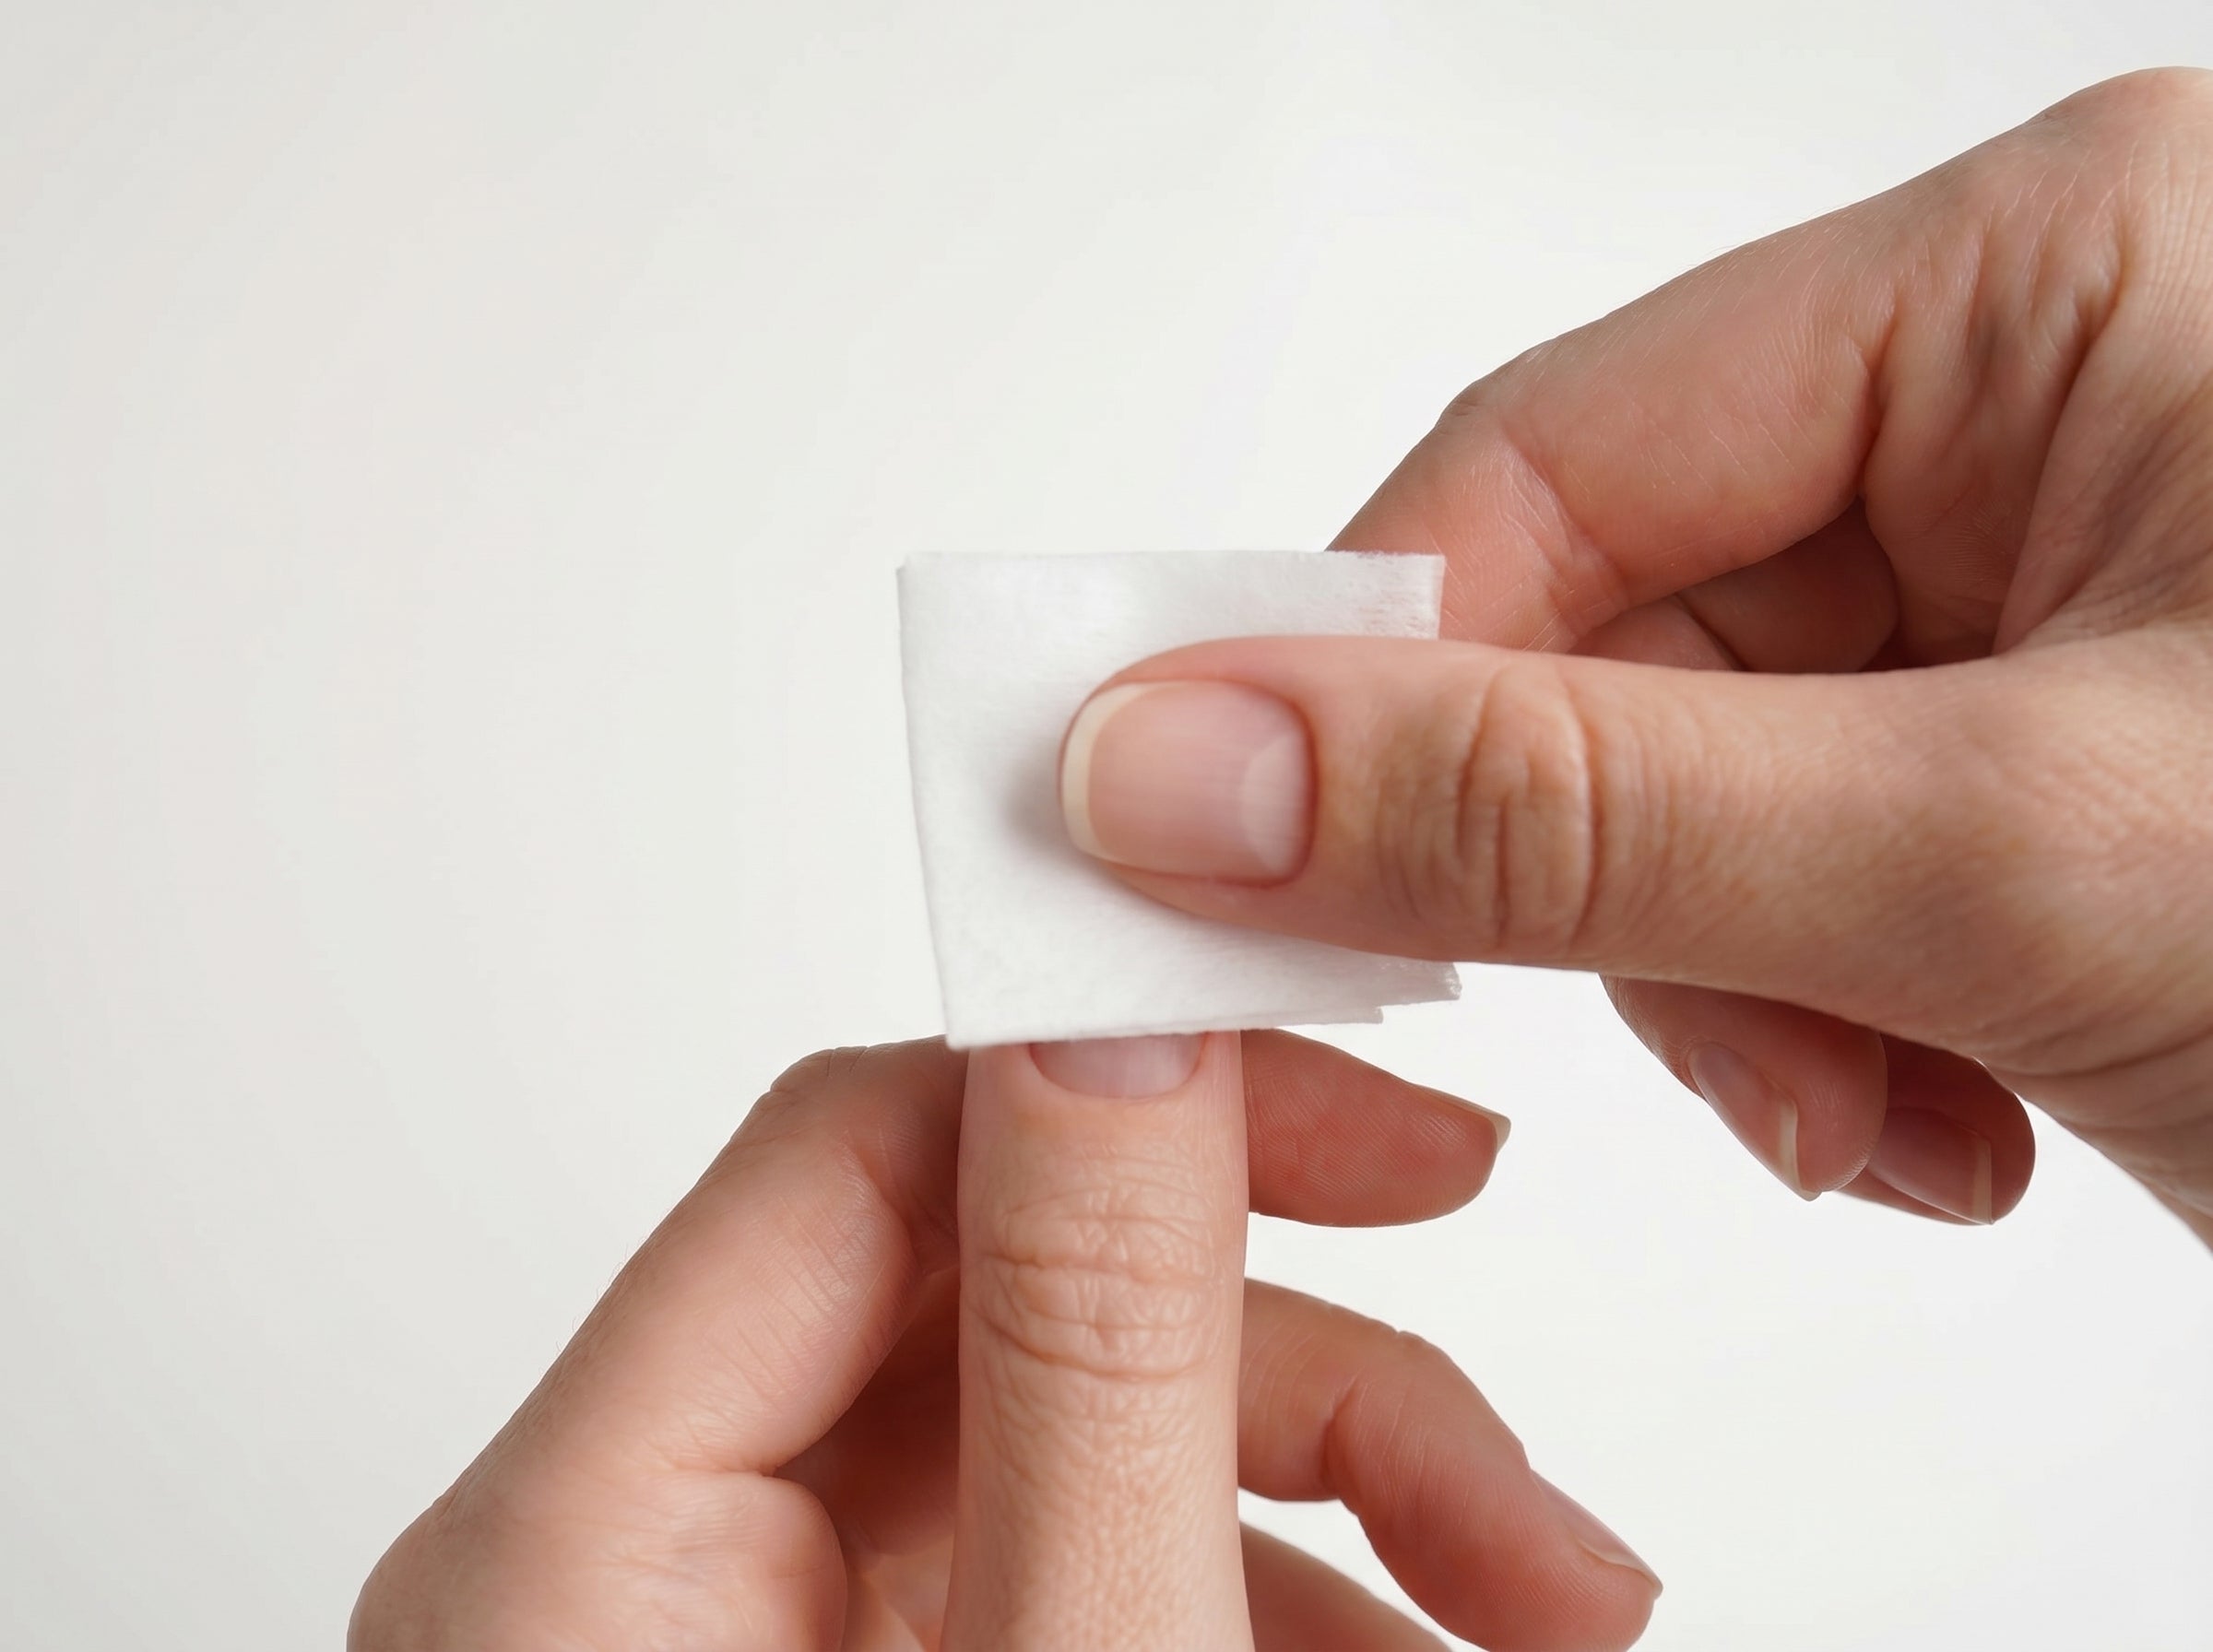
6. Alcohol wipe. Use the cleaning pad from your kit to properly wipe every nail on both hands. This removes any last traces of oil or residue. Let it dry fully before moving on.

Step 3 — Apply your nails
You have three application options depending on how long you want to wear your nails.
|
Option A — Nail Glue |
Option B — Jelly Tabs |
Option C — Combination |
|
|---|---|---|---|
|
Best for |
Everyday wear |
Events, weekends |
Strong hold with easier removal. Good option for thin or flat nails. |
|
Hold |
Strongest |
Medium |
Strong |
|
Wear time |
Up to 2 weeks |
5-7 days |
Up to 2 weeks |
|
Removal |
Standard |
Very easy |
Easy |
|
Reuse |
Possible, but depends on gentle removal and glue residue |
Best for reuse |
Possible, but depends on gentle removal and glue residue |
Option A — Nail glue
-
Apply a thin, even layer of glue to your natural nail. Glue should not touch your cuticles or skin.
-
Apply a thin, even layer inside the press-on nail.
-
Line the press-on up close to your cuticle, but make sure it does not touch your cuticle or skin. Place the nail at a 45 degree angle, then lower it down onto your natural nail.
- Once it is in place, press firmly all around the nail. Hold for at least 20 seconds. For the strongest hold, press for up to 60 seconds.
The glue bonds fast. Make sure the nail is lined up before you press — once it's down, it won't move.


Option B — Jelly adhesive tabs
-
Choose a jelly tab that fits your natural nail: it should sit on the nail only and never touch the skin or cuticle.
If you are between sizes, choose the slightly smaller tab. You can also carefully trim the jelly tab with scissors for a better fit.
-
Peel and press the tab flat onto your nail; use the cuticle stick to smooth out any air bubbles.
-
Peel off the protective film.
-
Line the press-on up close to your cuticle, but make sure it does not touch your cuticle or skin. Place the nail at a 45 degree angle, then lower it down onto your natural nail.
- Once it is in place, press firmly all around the nail. Hold for at least 30 seconds. For the strongest hold, press for up to 60 seconds.

Option C — Combination (glue + jelly tab)
-
Choose a jelly tab that fits your natural nail: it should sit on the nail only and never touch the skin or cuticle.
If you are between sizes, choose the slightly smaller tab. You can also carefully trim the jelly tab with scissors for a better fit.
-
Peel and press the tab flat onto your nail; use the cuticle stick to smooth out any air bubbles.
-
Peel off the protective film.
-
Apply a thin layer of glue on top of the jelly tab — focus on the edges and any gaps near the cuticle.
-
Line the press-on up close to your cuticle, but make sure it does not touch your cuticle or skin. Place the nail at a 45 degree angle, then lower it down onto your natural nail.
-
Once it is in place, press firmly all around the nail. Hold for at least 30 seconds. For the strongest hold, press for up to 60 seconds.
After application — what to do (and avoid)
-
Don't wet your hands for 1–2 hours after applying. Let the adhesive fully set. Doing your nails before bed is a great trick — your hands rest overnight while everything bonds.
-
Remove after two weeks maximum. Even if your nails are still holding, the bond weakens over time and moisture can get underneath — which isn't good for your nail health. Take them off, give your nails a short break, and reapply.
A note on reuse:
Jollè nails can be reused if removed carefully and stored properly. Reuse is easiest with jelly tabs. With glue or the combination method, reuse depends on gentle removal and how much glue residue remains on the inside of the press-on.
Questions?
Reach out on Instagram, email, or through our contact form below. We're always happy to help — cause everything it's easy once you know how!
If you have any questions, please fill in this contact form, and our team will reach you back as soon as possible.